Every Bootstrapping project follows the same five step process of development. These steps build up a project from scratch and can be repeated if necessary.
With your team, create your end-user persona and user journey centered on empathy (we need to care about your persona) to build team vision and later attract mentors and investors. To do this, create a draft storyboard of your end user persona’s pain or struggle that your solution will address - tell their story!
Next, create a draft Mission Grid (Pain, Solution, Value, Competition).
Next, create a draft group members personal profile brand cards - include general statements about team members like hobbies and interests, but make sure to omit all identifiable student data, especially family names and birth dates.
Lastly, finalize all team member roles - these can include project manager, data management lead, UX designer, UI designer, and marketing manager, among other possible roles.

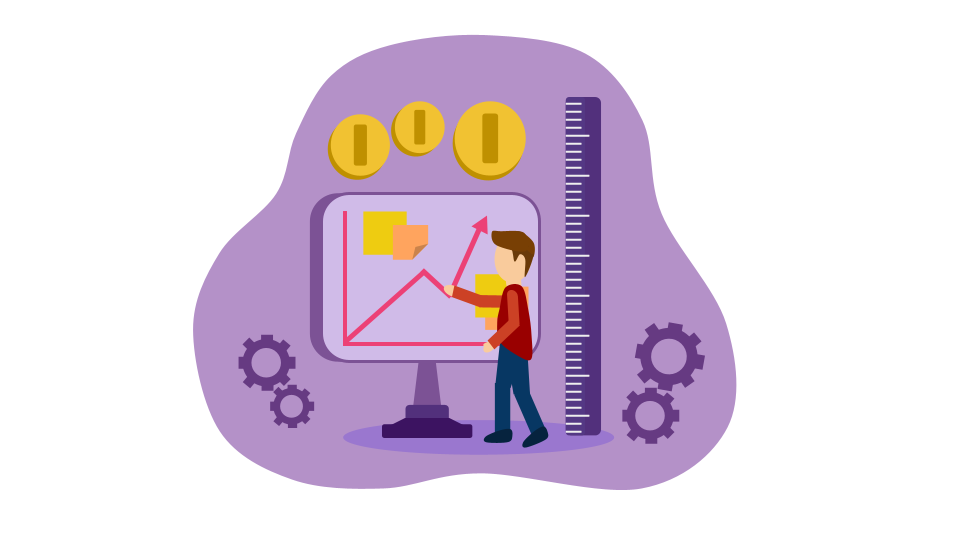
Investment doesn’t always come in the form of $$$ - in our case, it comes in the form of mentoring from our critical friends. Ask family and friends in order to get feedback on the draft user persona and journey. As a team, consider adding feedback to the storyboard.
Next, finalize Mission Grid (Pain, Solution, Value, Competition). Think about potential investor care-abouts - a value proposition that scratches an ‘itch’, or a disruptive solution. A solid and caring team is extremely important for project success and to convince investors and mentors to support you.
Tell potential mentors and/or investors ‘exclusive info’, and use data to back this up. Ask questions about the world. Give real life experiences that your product or idea would help with. Stress the pain point that your product resolves for your user persona - tell their story.
You can build and then A/B test lots of things such as logos, website or app designs, or even analog products like a new cell phone case or even food! Sometimes we like to A/B test UX (User Experience) and UI (User Interface) for websites or apps (try paper prototyping!).
Your team will launch both A/B designs at the same time on your LMS - we use Google Forms and Classroom to post A/B prototypes on the stream - let the ‘crowd’ (your classmates) decide which one they want. The more a student answers forms from teams, the higher their reputation gets!
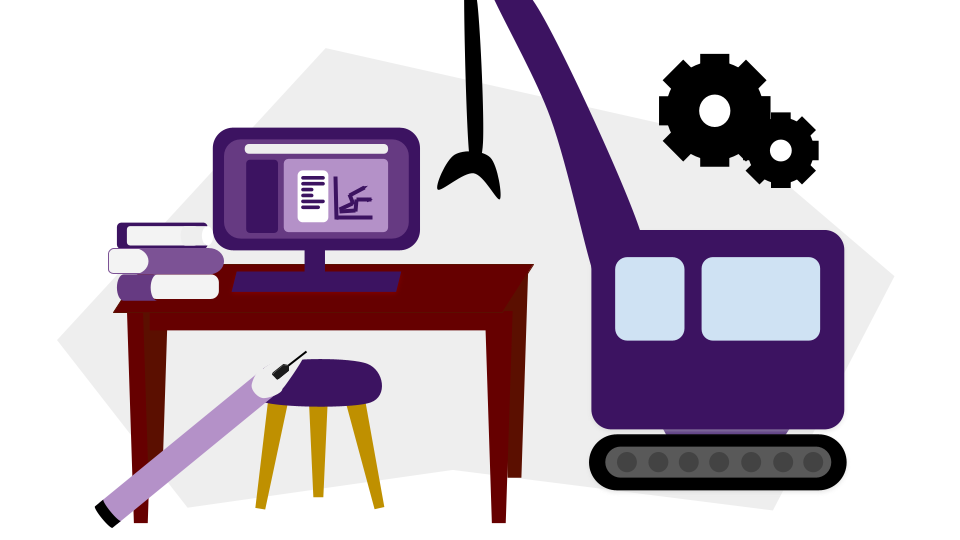

Finalize UX/UI A/B prototypes with the team and launch both A/B designs at the same time on your LMS. Use GC stream (or similar) and GForms (or similar) as usual to launch UX/UI prototypes and get that data!
Analyse (interpret) A/B data from GForms (or similar) as a team and decide which to keep and which to drop - A or B. The prototype that your crowd chooses gets put into your Final Presentation.
For the Final Presentation, finalize group member personal profile brand cards - omit identifiable student data like age or family name etc. Finalize storyboard. Your team’s final presentation should include the user journey with the final storyboard, finalized UX/UI of the websites or apps (or other), and all team member profile brand cards.
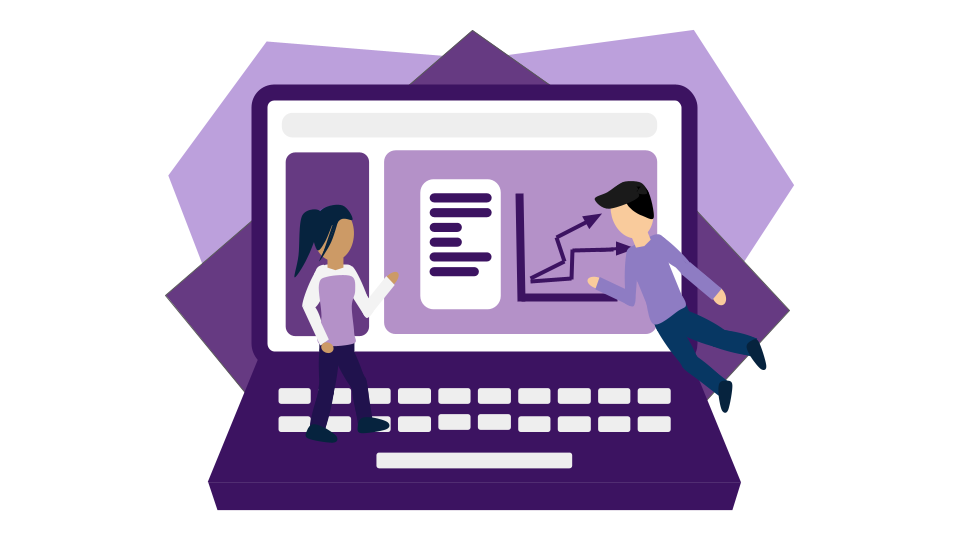
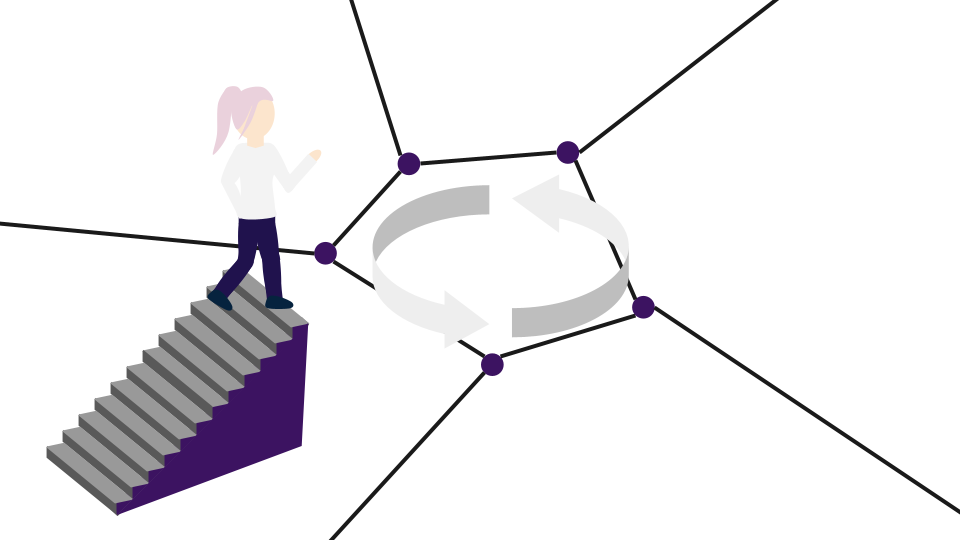
Repeat another iteration with the same team if you had a great time, worked well together, or think your project has potential. You can start something new or take the A or B prototype that the team chose from the last round, and split it, again, into another A/B that you will launch again, and so it goes...
If you decide not to work with the same team members, well here is the good news - you have completed a full cycle, and maybe it was tough, but congratulations, you did it! You might want to try a new project with a new team, you might want to be project manager next time around, or maybe you don’t want to be project manager again - and that’s ok too!
What people think about us
Answers to some of the most frequently asked questions.
Some of the projects our students have done.

A Virtual Laser Tag Game
A company that revolves around custom-made glasses

A book-searching app
Keep track of your points while making friends
Canadian furniture corporation preventing dorsopathy and providing comfort

An Online Platform Dedicated To Travelling.
We provide educational resources that grade 6 students need to succeed.

TechMinds aims to provide headphones that prevent otalgia.
This website helps students across the TDSB connect and talk to each other.
2016 Shortlisted Teaching Delivery Award Reimagine Education
2020 Shortlisted K12 Award Reimagine Education
2021 Shortlisted K12 Award Reimagine Education

2021 Bronze USA & Canada Reimagine Education
Welcome to the Bootstrapping Checklist 2.0! The work presented on this website represents the hard work of Grade 7 TDSB Virtual School students who worked together and persevered during the Covid-19 pandemic.
The Bootstrapping Checklist is a way for students to learn about their passions, instead of having to do the traditional way of studying. This means students or whoever is doing bootstrapping will enjoy it and be more passionate about it so they will learn more than they would otherwise!
Thank you for taking the time to view our work and we hope that we can inspire other #bootstrappers!
- The students and Mr Baxter of TDSB Grade 7 Virtual School
Special thanks to Seyon S. for building the new website, to Ellen Z., and Allen H. for the artwork, and to the Bootstrapping Club and the students of Grade 7 Virtual School - you are inspirational!
We would also like to thank Kristan Uccello, Dr. Paul Kim CTO of GSE at Stanford, CTO at TDSB Peter Singh, Salar Chagpar at Prepr, Marc Lijour, Tam Le, Serena Ricci and Jack Moran at Reimagine Education, Robyn D Shulman, the OISE Alumni Association, Warwick Vlantis at the African Coding Network, and Andrew MacLean at HighTechU.
...and a special thank you to all my #bootstrappers - you know who you are!